
The Beginner’s Guide to Getting Started with Native Plants
Read on for a step-by-step approach to getting started with native plants and how you can use the Brandywine Native Garden Hub to start your gardening journey. You’ll also gain a better understanding of everything from the benefits of incorporating plants native to your area, selecting the right plant for the right place, and a sustainable maintenance plan for years to come. Leave with the confidence to start your own native plant garden, in turn benefiting native wildlife and your own wellness.
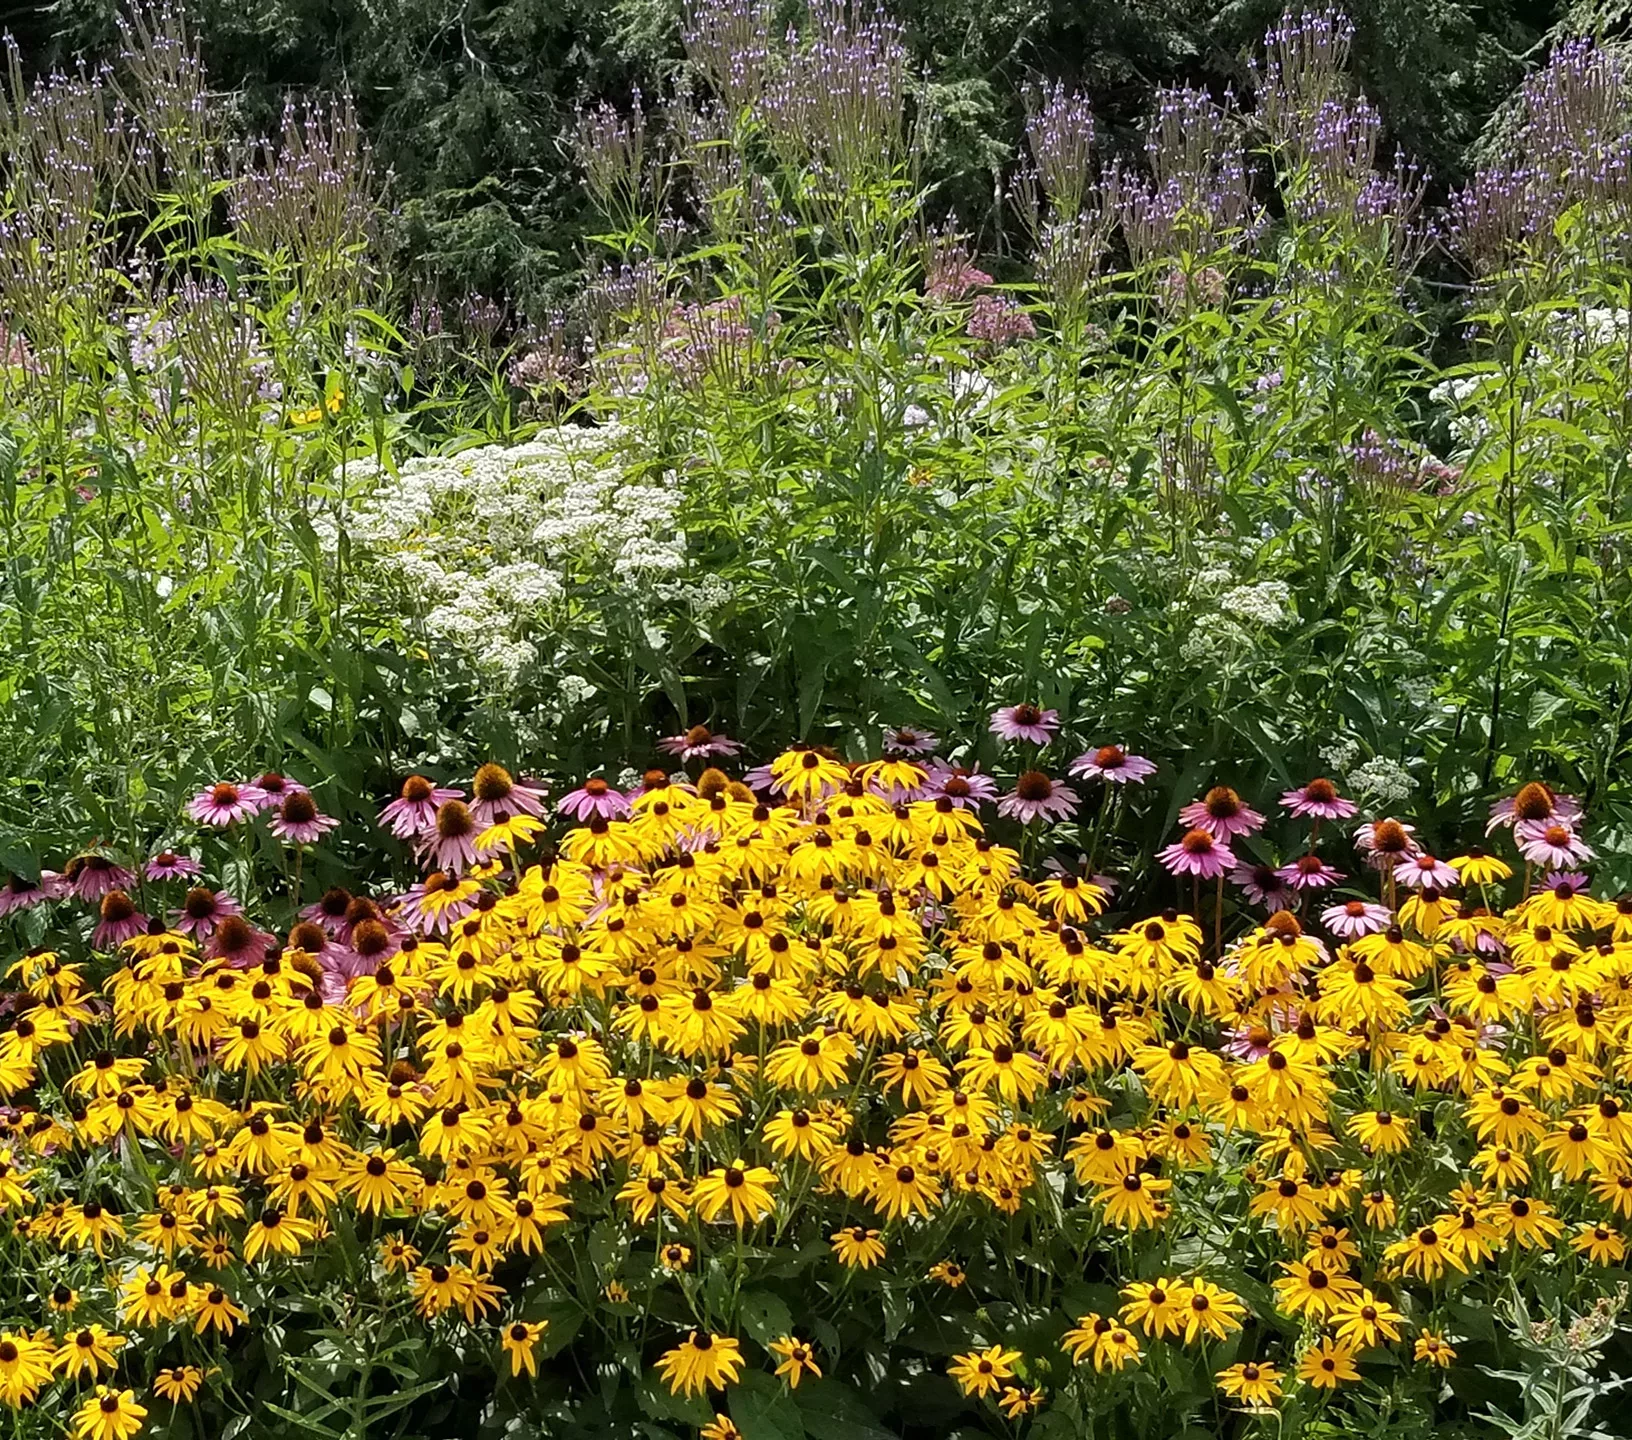
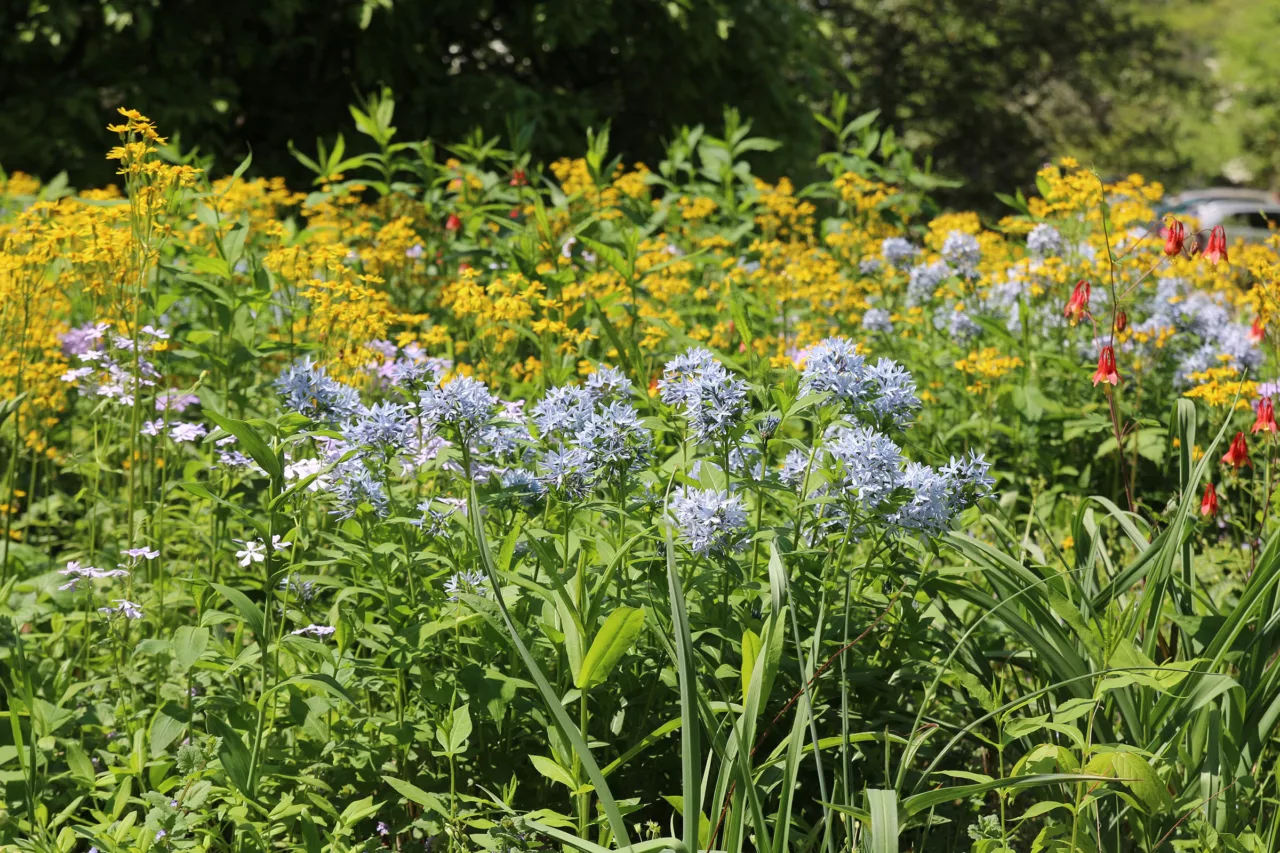
Why Choose Native Plants?
Before we jump into the details, let’s touch on what makes native plants distinctive. These are plants that have naturally occurred in a specific region, ecosystem, or habitat without human intervention. They have evolved and adapted to the local climate, soil, and other environmental conditions over a long period of time. Unlike non-native species, which frequently require more care such as water and nutrients, natives tend to flourish with little effort. This is what makes them such a sustainable choice for your planting spaces.
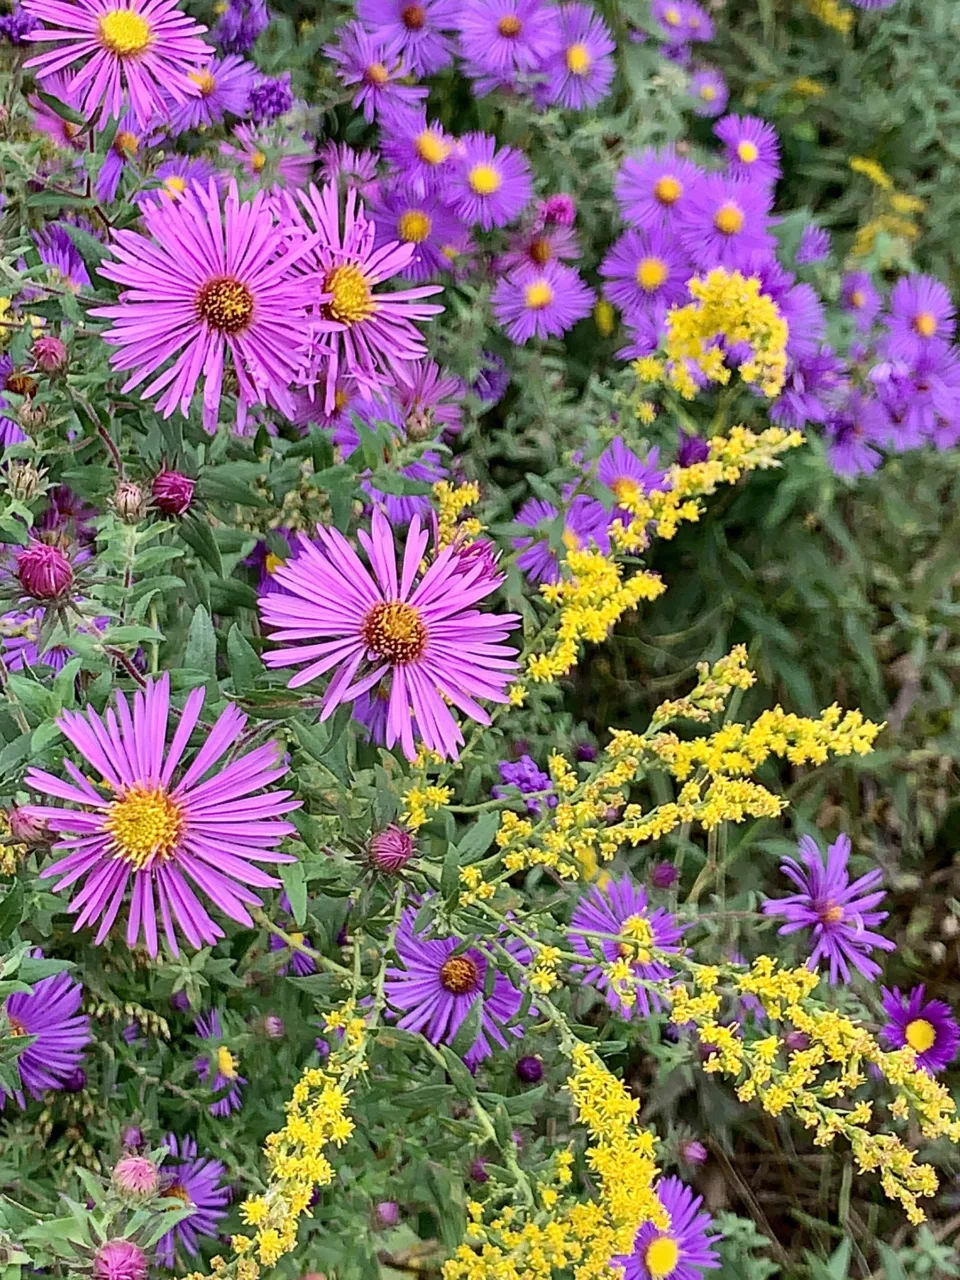
- Support Wildlife and Pollination: They provide food, shelter, and nesting sites for animals, insects, and birds.
- Pollination Support: They attract pollinators, such as bees, butterflies, moths, and hummingbirds, which are crucial for reproduction of both edible and non-edible plants.
- Water Management: Native plants have deep roots that help break up compacted soil to encourage infiltration, in turn controlling water runoff, filtering pollutants, or managing water levels in wetlands or riparian areas.
- Resilient by Nature: Because natives are adapted to local conditions, they are naturally more resistant to diseases, local pests, and extreme weather events.
- Climate Regulation: Plants, especially native trees and shrubs, can help amend local temperature and air quality by absorbing carbon dioxide and releasing oxygen.
- Low(er) Maintenance: Once established, native plants lean towards self-sufficiency, needing less water, nutrients, and care than non-native species.
- Providers in Perpetuity: In addition to providing short-term benefits, many natives can be shared with others through simple and low-to-no cost propagation techniques such as root division, cuttings, or seed saving.
Step 1:
Get Clear on Your Garden Goals
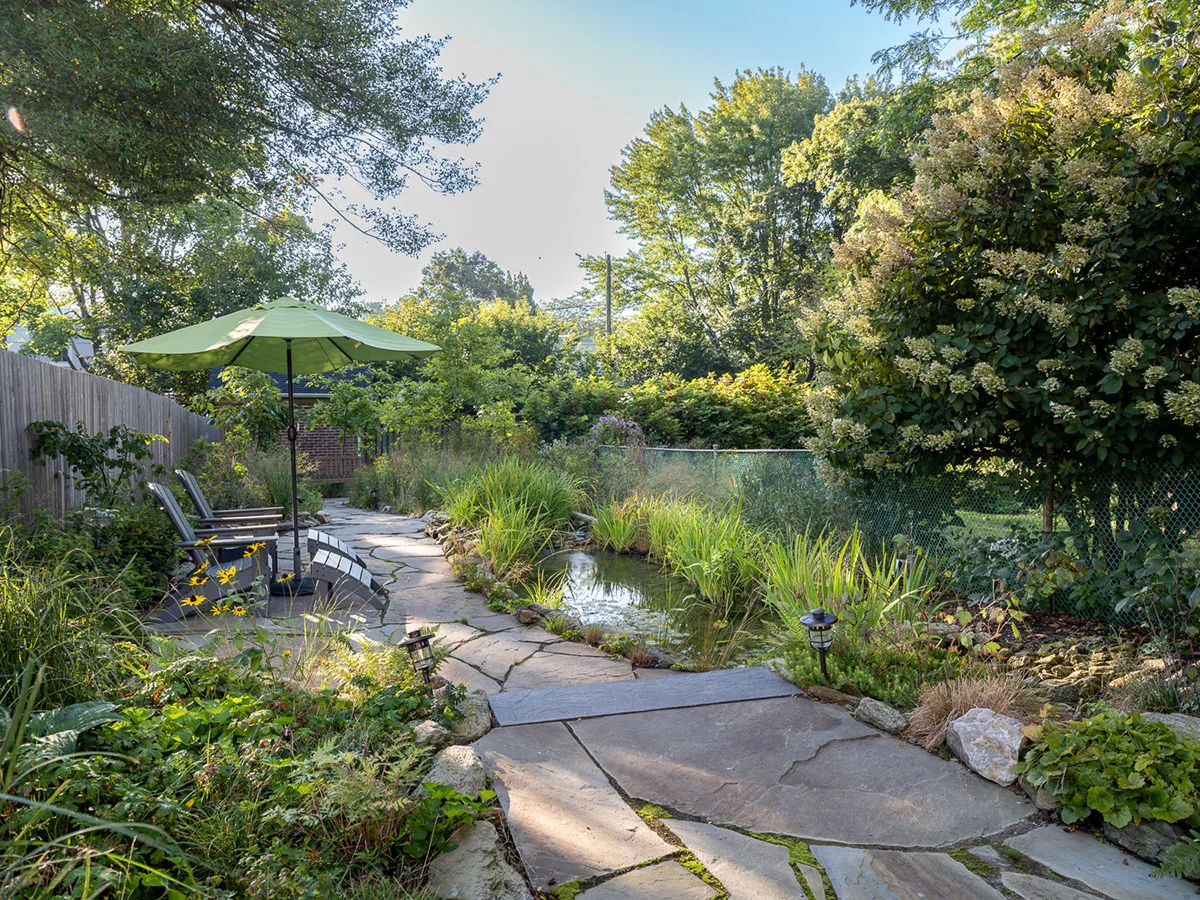
What’s your garden “why”? Whether you’re looking to attract more wildlife, reduce puddling in your backyard, or create a more relaxing space, getting clear on your gardening goals can set the stage for success!
Consider these factors as you create your goals:
- What functions do I want my garden to have? (see examples above)
- What colors do I like?
- Are there any planting restrictions in my community?
- What challenges do I face in this site? (weed pressure, animal browsing, road salt)
- Will I replace existing plants or incorporate new ones?
- How much time do I have to maintain it?
- What’s my budget?
Step 2:
Get to Know Your Garden Site
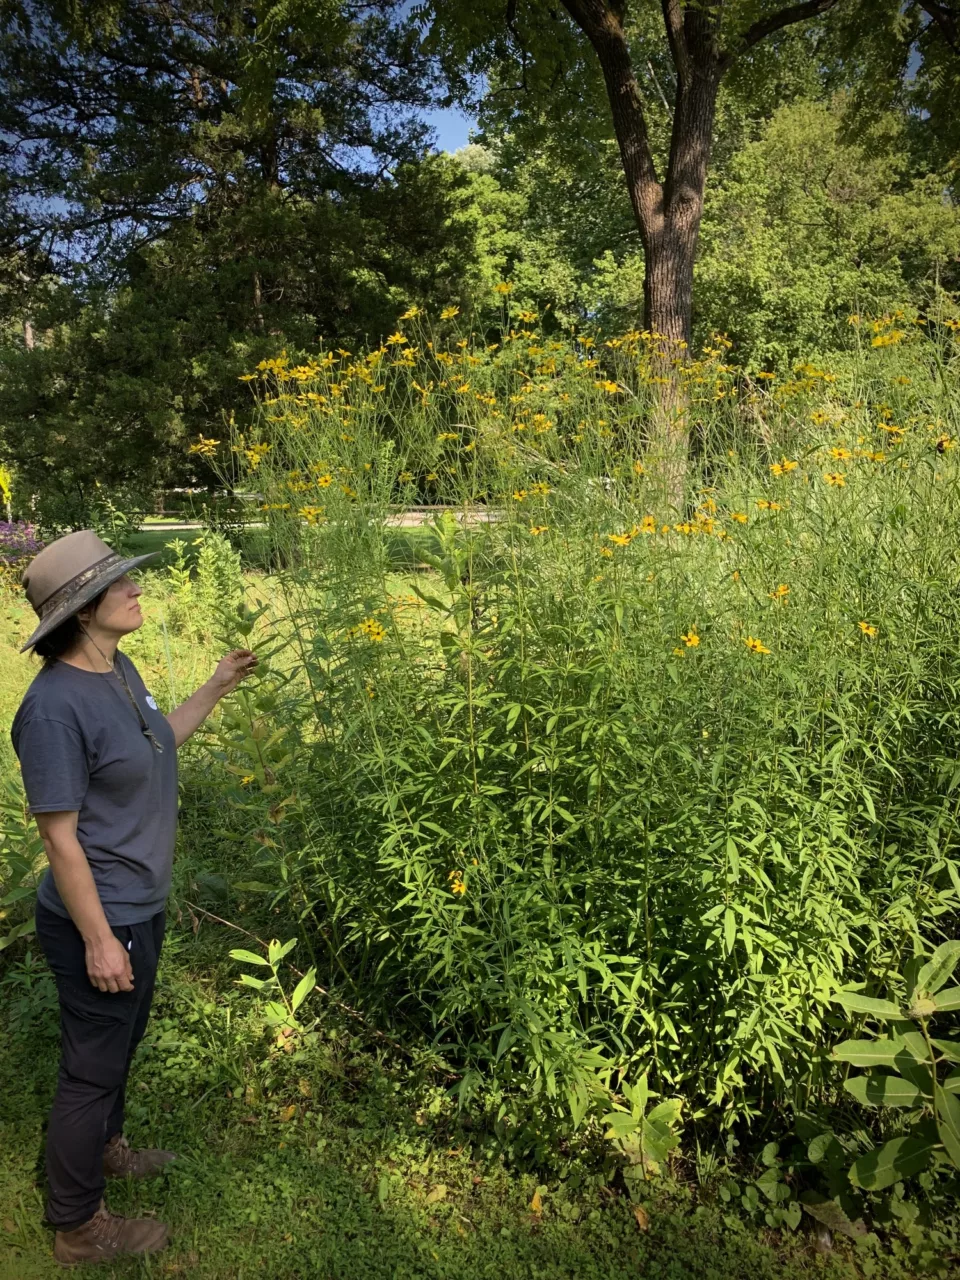
Before digging in, get to know your local environment. Take an investigative walk around your current or future gardening site(s) and make some notes. If possible, do this at different times of the day in every season.
- Sunlight Exposure: Notice how much sunlight these spaces receive throughout the day. Are there areas that tend to stay hot or offer a period of shade and cooler temperatures?
- Soil Moisture Level: Many factors affect water availability in your garden’s soil. Notice which areas tend to dry out more quickly and those that retain more moisture as this will determine the best plants for the location.
- Soil Type: Soils composition can vary in growing spaces and play a major role in determining how well plants will grow there. Dig in to experience the texture. Although native plants are adaptable to most soils, a soil fertility test can provide more in-depth information on your type, pH, and nutrient levels.
- Identify Plants Already Present: Even if you don’t currently have natives in your garden, identify what’s currently growing there. This can help guide you to native options that appreciate similar growing conditions.
- Wildlife Pressure: Set your garden up for success by noticing the local wildlife that frequently visits your yard. While wildlife might not find non-native plants palatable, they could take more interest in native varieties.
- Planning for container gardens? Keep in mind that soil moisture levels can change more quickly than in-ground plantings. Consider soil quality, planter materials and drainage, as well as easy access to water if more frequent waterings are needed.
Step 3:
Best Plants for Your Places
Now that you know the benefits of natives and have determined your gardening goals, it’s time to select plants that suit your space(s)!
- Local to You Native Plants: Explore Brandywine’s Native Garden Hub to learn about and find plants native to Pennsylvania and northern Delaware.
- Filter for Your Garden Space: Select the site conditions to determine which plants will be the best fit. Consider plant sizing and growth habits to avoid future fixes. You can also filter plants based off of a variety of other sorting attributes, including those that are good for pollinators, specific bloom times, fragrance, deer resistance, or even by color!
- Make a List: Create your own personalized garden board(s) by liking the plants that align with your garden site and goals. For example, if you are looking to attract more songbirds to your garden, select those that indicate they provide food.
- Sketch it Out: To help the planting process go more smoothly, draw a rough layout of your garden site to determine how many plants you will need. Grouping similar plants can not only be aesthetically pleasing but also help with watering routines.
- Source Your Plants: It’s best to source plants and seeds from your region by supporting local nurseries. Search for Native Plant Nurseries near you. Be sure to have your Native Garden Hub Garden Board(s) handy for reference as you shop. Be sure to reference the Latin names for your plants as many have similar common names.
Step 4:
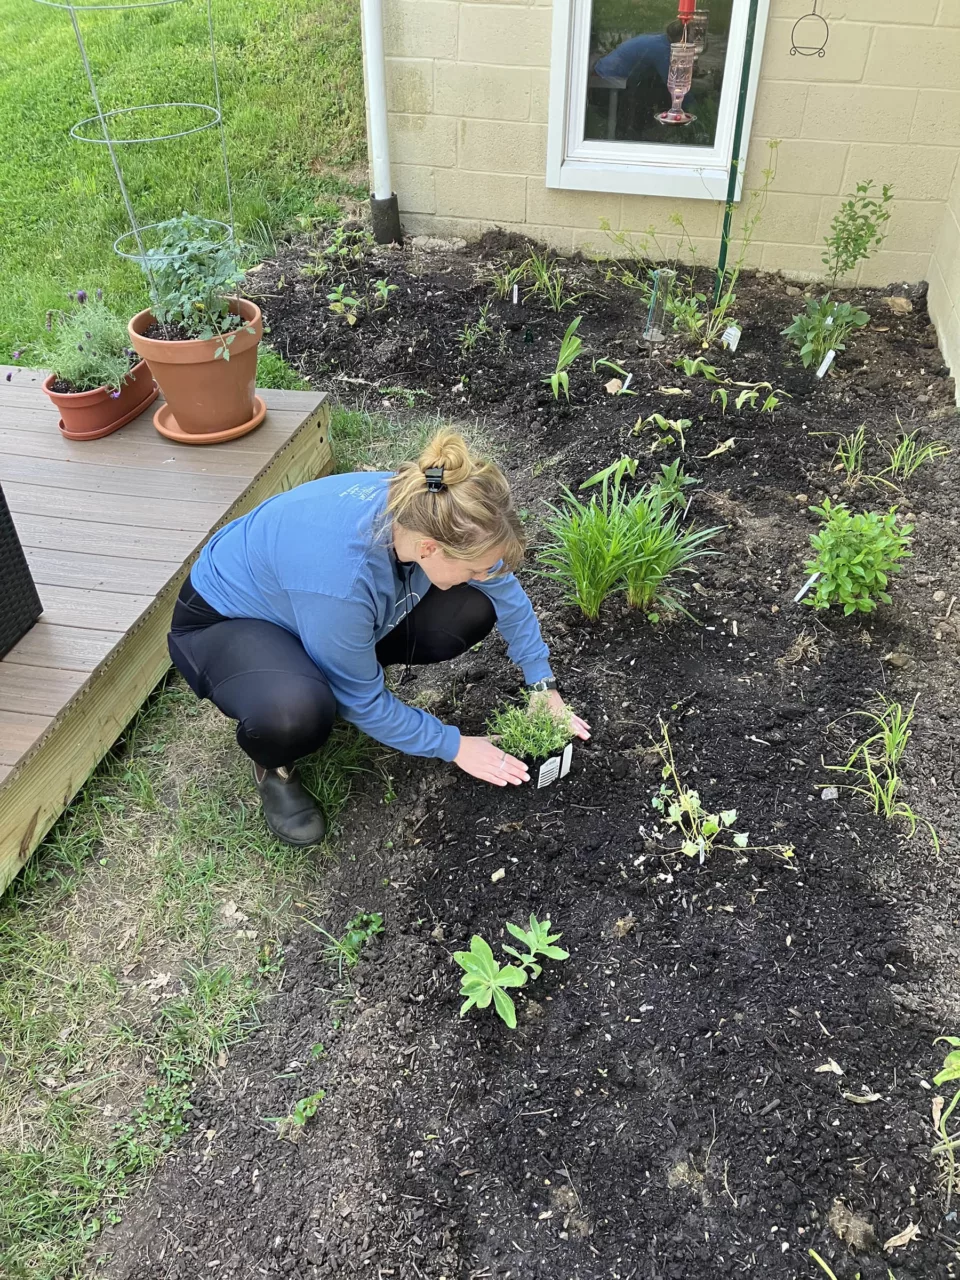
Prep Your Planting Site
The most effective way to minimize soil prep is to keep it simple and choose native plants that suit your existing soil type.
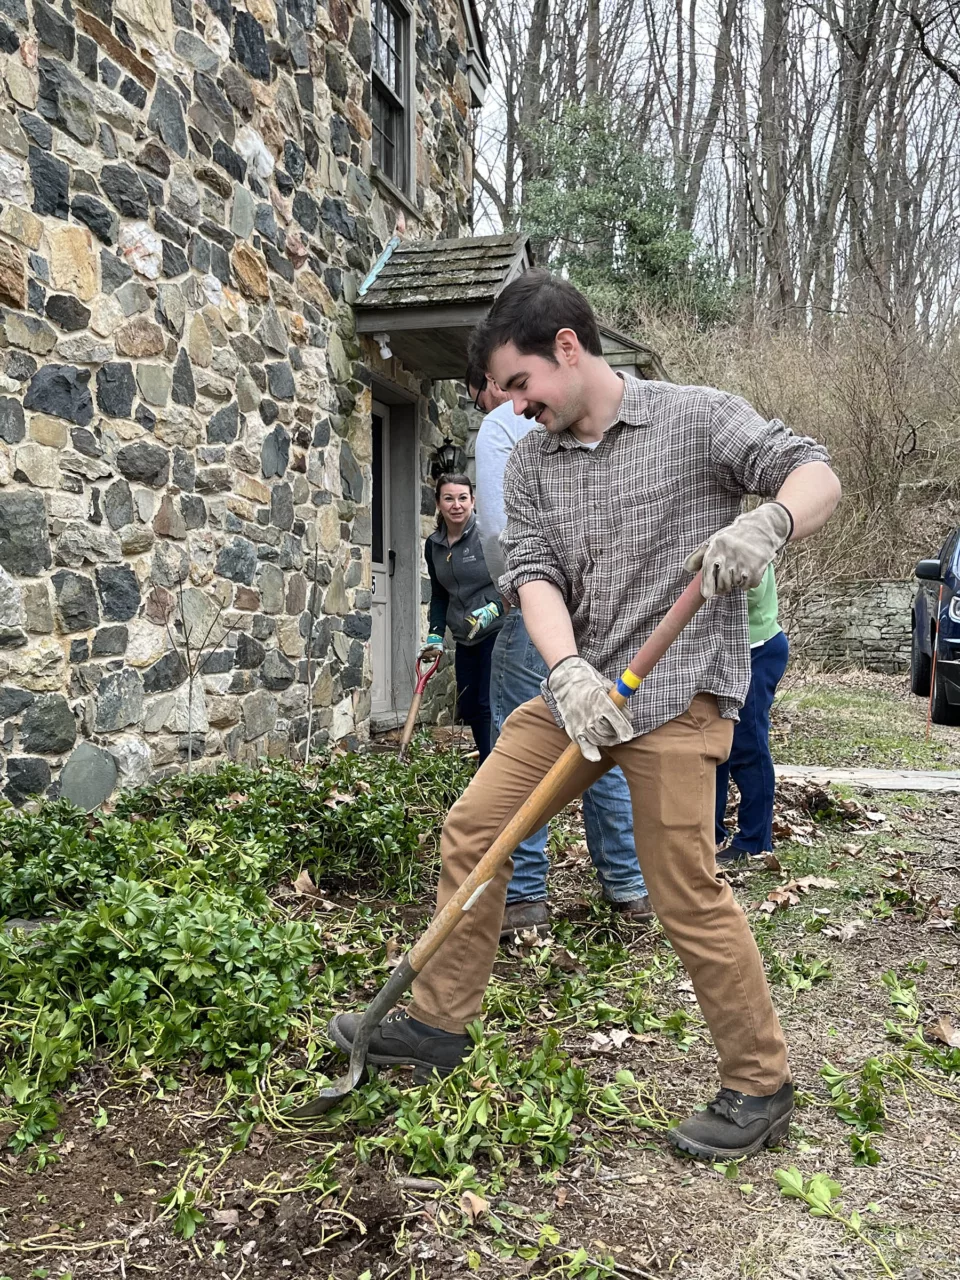
- Remove Existing Groundcover: If needed, remove turf grass, mulch, or current plants if you are replacing them.
- Amend Soil as Needed: Since you’ve already selected plants that are right for your soil type, this step might not be necessary. If needed, add organic matter like compost or leaf mold to improve structure.
- Considering Containers: Choose soils specifically blended for containers that include ingredients like perlite to support soil moisture retention. Unlike in-ground plantings, containers are a closed system without access to nutrition from the surrounding environment. Adding ingredients like compost or leaf mold can help keep your plantings healthy.
Step 5:
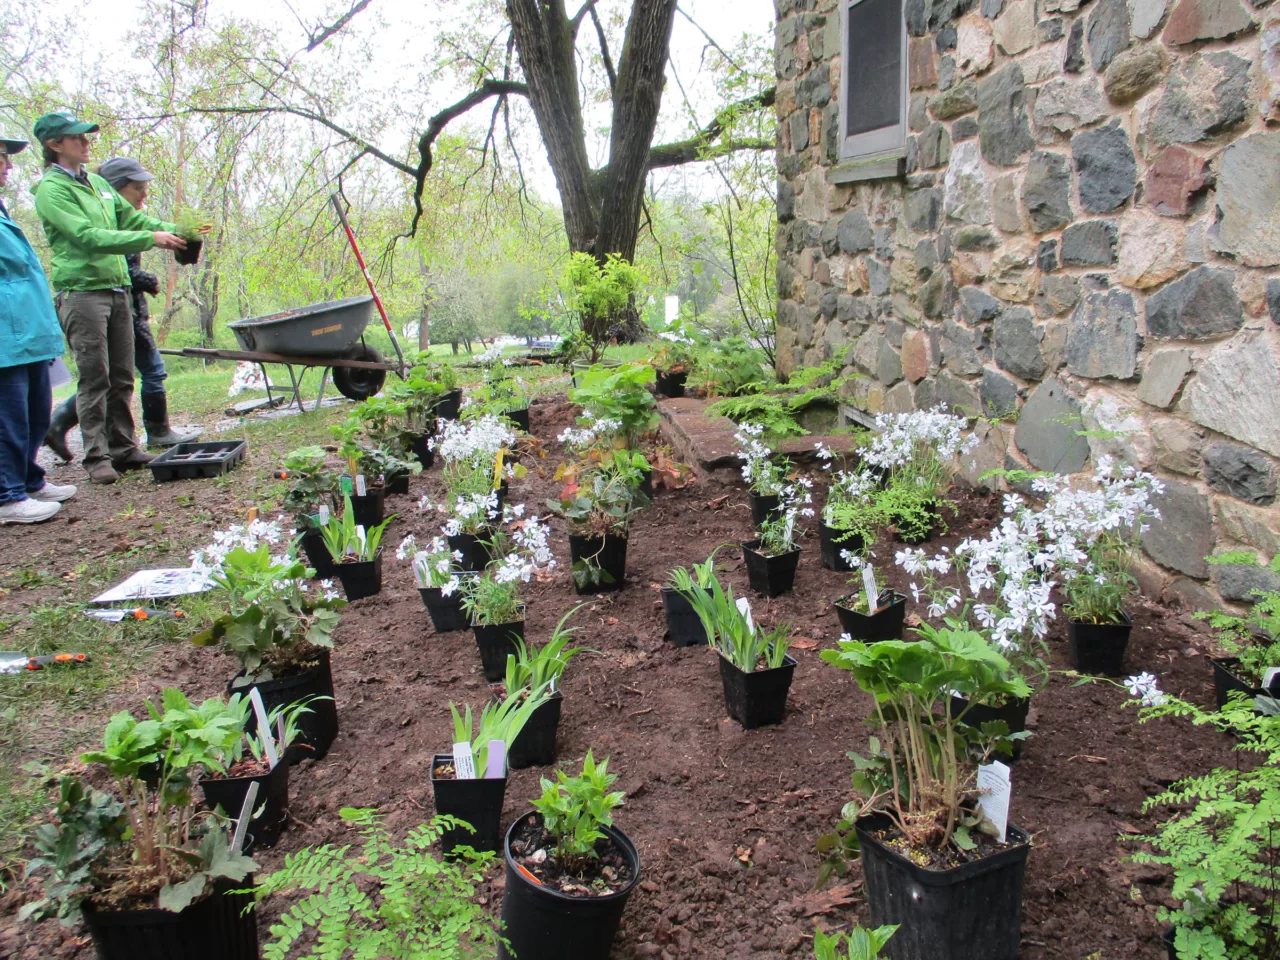
Planting Tips
Planting natives can look a little different from traditional gardening. Here are some recommendations:
- Place Your Plants: Place all the plants as indicated in your sketch. This will help allow for even and ample spacing while ensuring the area is covered with enough plants.
- Planting Depth: Dig a hole about twice as wide as the plant and deep enough so that when the plant is placed in the ground the top of the root ball is level with the soil surface. Be sure to press the soil down firmly enough to secure the plant but still allow for water to easily pass through.
- Water Well: After all your plants are in the ground, give them a deep watering. Use a gentle spray and position the nozzle at the soil level. Avoid watering the foliage.
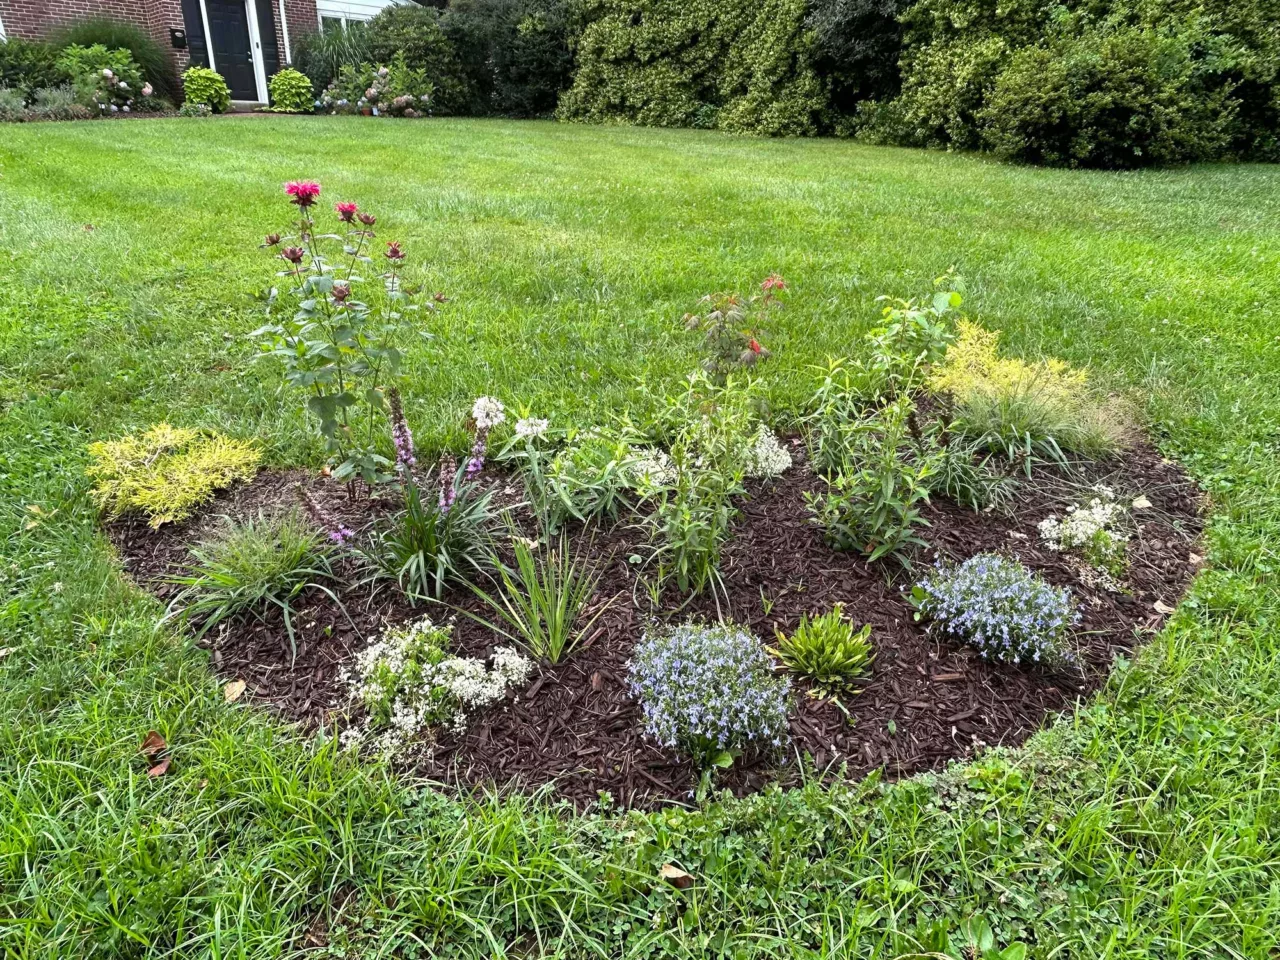
- Mulching: Apply enough mulch around your plants to cover the soil but still allow water to pass through. Mulch helps to retain soil moisture and is also recommended in containers. Avoid synthetically dyed bark mulches and opt for more sustainable sources such pine needles, grass clippings, shredded leaves or free wood chips.
- Label: Depending on your garden goals, now is the time to label your plants. This will help with future identification.
Step 6:
Low Maintenance Tips
Congratulations, you now have a native plant garden! Let’s help it thrive.
- Weeding: Keep an eye out for weeds. Regular hand weedings during the first year will help your natives outcompete the weeds for water and nutrients. Monitor for signs of stress such as yellowing leaves.
- Watering: Keep up with regular watering throughout the first growing season, especially during dry periods. After plants are established, water demands will reduce. Water needs vary by plant. Track rainfall and test soil moisture as needed to determine when it’s time to water.
- Pruning & Clean Up: Wildlife relies on native plants for food and habitat. If possible, prune and remove debris only at recommended times of the year.
- Mulching: Reapply mulch as needed to retain moisture, keep weeds down, and support soil structure.
- These best practices encourage steering clear of chemical herbicides or pesticides, which can harm the beneficial insects and wildlife your garden is meant to support.
Helpful Gardening Tools and Resources
- Soil Tester (pH & nutrients)
- Gardening gloves
- Garden trowel
- Gardening shears
- Weeding tool (like a hori hori knife)
- Check out Brandywine’s library of virtual programs focused on deepening an appreciation for gardening with native plants